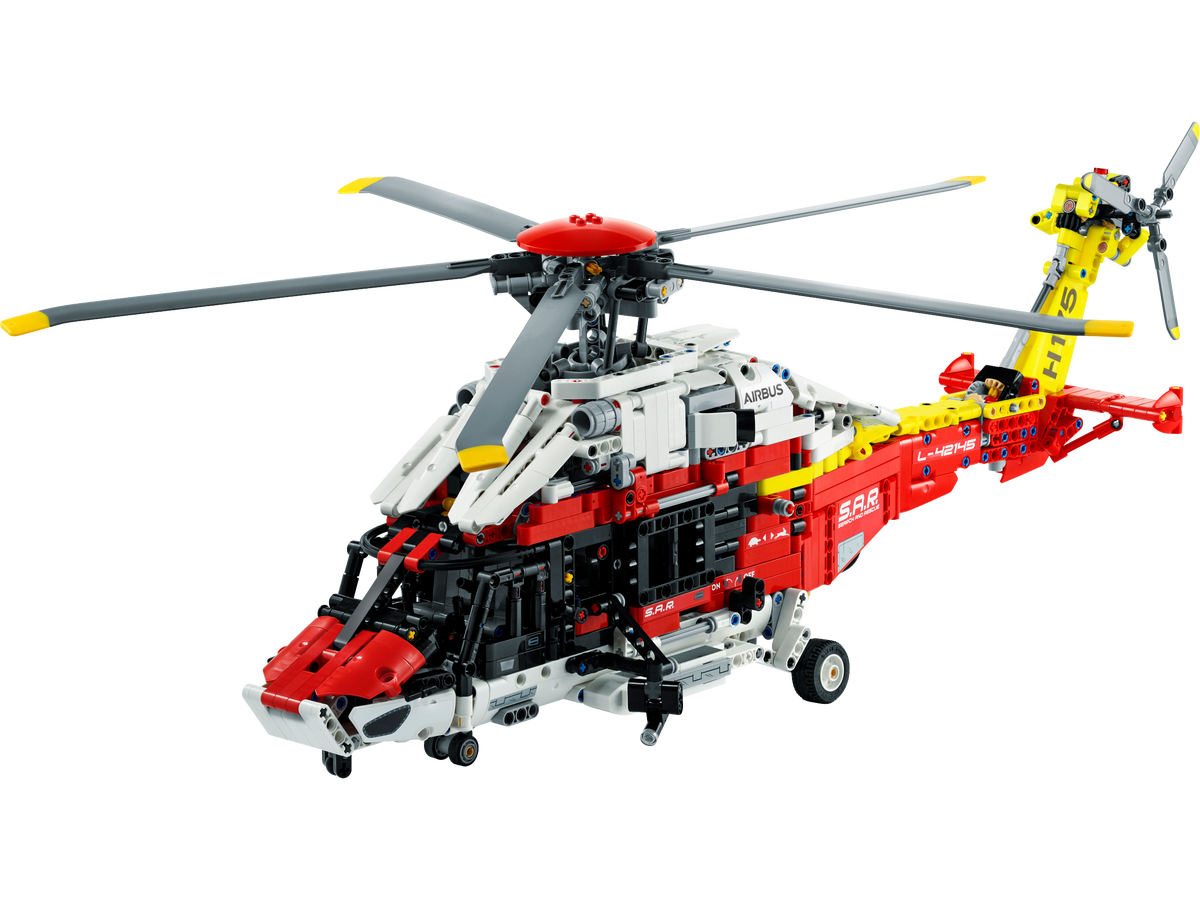
The LEGO Technic theme includes a huge number of land vehicles, marine transport, and even aircraft. Today, we will explore the features of the Airbus H175 Rescue Helicopter set (42145).
The set is a replica of the helicopter produced by the French company Eurocopter in collaboration with Airbus, presented for the first time in Houston in 2008. The Airbus H175 (42145) is an “high end” set, mainly for the presence of battery-powered PoweredUP elements, which add automatic functions to the model (But as you may have guessed, no, unfortunately the set does not fly).
 209,99€
Aside this small but predictable disappointment, here some quick information about the model:
Name: LEGO Technic Airbus H175 Rescue Helicopter
Code: 42145
Launch: August 1, 2022 (Worldwide)
Number of pieces: 2001
List price: 209.99€ (209.99$ /179.99£ / 269.99 CAD / 329.99 AUD)
Main Feature: Includes PoweredUP Elements powered by 6 AA batteries (batteries not included)
We are now ready to explore all the secrets of this set. Let’s go!
Index
- Box and contents of the package
- The instruction booklet
- Building Experience
- Stickers
- Details and level of accuracy
- Conclusions
Box and contents of the package

The packaging is voluminous, and the design is in line with all the other sets of the LEGO Technic theme, but an AIRBUS logo and the caption “Motorized Function” have been added to the box graphics. Here’s what’s inside the package:
- 16 Sealed envelopes, numbered from 1 to 5
- Instruction Booklet
- 5 Propellers
- 1 Motor Powered UP ( Motor L Power Functions 88003)
- 1 Hub Central Powered UP (Box Battery 88015)
- 1 sheet with color stickers
- 1 sheet with two transparent stickers
the instructions and stickers were contained in a hard cardboard envelope, a new trend adopted by LEGO to preserve pages and stickers from involuntary collisions with the rest of the content.
The instruction booklet


The Instruction Booklet consists of 398 pages: a beautiful volume that anticipates the many steps needed (746) to complete the construction.
The images are clear and unambiguous, and during the construction I had no difficulty in following the steps, but please keep in mind that the steps require precision.

Building Experience
The entire set is built around the PoweredUP hub, which is the starting point for the entire assembly process.

The building process is split into 5 different phases, which i briefly summarize: The first phase focuses to the lifting and lowering mechanism of the landing. The second phase focuses to the cockpit and a part of the mechanism that will operate the rotor of the helicopter.
The construction of the entire gear system and the switch levers is the biggest challenge of this set: in fact, phases 4 and 5 will take the most hours and represent the center of the entire experience of building.

The construction of the internal mechanism of gears and switches turns out to be a real challenge: those familiar with LEGO Technic sets know the importance of assembling these gears, pins and axles in the correct way. This is a fundamental step: in fact, the correct functioning of the whole mechanism can be checked only at the end of the building experience.

The instructions are very clear, and during construction you can appreciate how the switches activate different gears depending on how they are positioned, although the feeling of not understanding well what you are building remains constant.
But if you think about it, this is a peculiar feature of the Technic series: it is only when the construction is complete, when the gears will be connected to the rotor or to the helicopter carriage, that you can appreciate the complexity of what have you built.

In the final stages of building, you will complete the rotor and the entire structure that allows the rotation of the main propellers: the complexity of the set here reaches its maximum, since the dynamics that really lies behind the the propellers of a real helicopter are pretty complex.
In these phases you can already appreciate a feature that will be made more evident later: the axis of the rotor can be tilted thanks to some joysticks in the cockpit.

Stickers
From time to time, the instructions require the application of Stickers, which as we know have always been one of the few weaknesses of the LEGO sets that require them. In this case, as you can see from the 2 sheets included in the package, the stickers are not a few.

I don’t feel adding these stickers is completely bad. On one hand, there are some necessary ones (such as the stickers witch indicate some functions of the switchs, for example the lowering of the trolley or the winch)
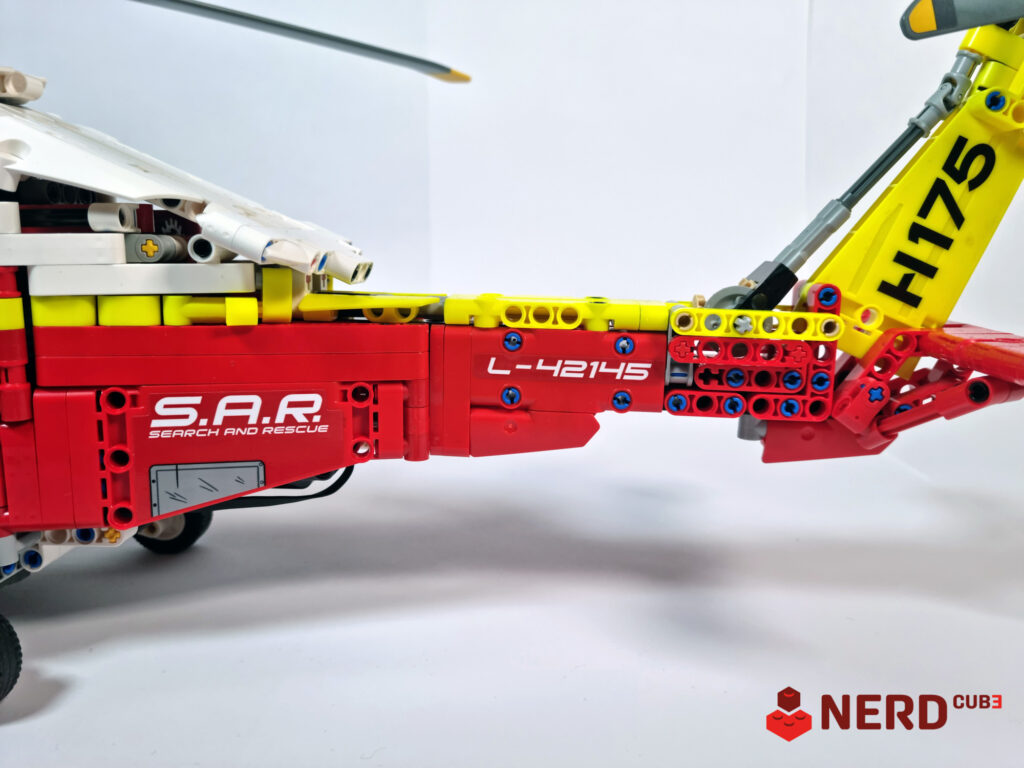
Others are a solution to add details impossible to reproduce using bricks, such as the cockpit’s on-board instrumentation, the cabin’s external handles, the aircraft’s name and initials written along the tail of the helicopter.


The only stickers that actually clash with the overall harmony of the set are the white ones and those with the “AIRBUS” logo: they are white and are applied on white pieces, but the two colors do not seem to match and the final result is that the adhesive is poorly masked and is immediately visible.
It would have been more appreciated to have bricks with Airbus logos printed, instead of stickers.
The overall effect is however very good and helps to highlight the design of the helicopter and its functions.
Details and level of accuracy
The final stages of the assembly are dedicated to the construction of the white “roof” of the helicopter. A known fact in aerodynamics is that tapered shapes, smooth surfaces and the absence of sharp edges are fundamental features to ensure low aerodynamic drag in flight: therefore at first the shape of the roof can be controversial, with different angular surfaces, projecting and sharp elements.
It remains undeniable that creating continuous and curved surfaces using LEGO bricks is a big challenge, so in a sense I agree with che decision made by LEGO designers: to make the roof more “in line with LEGO Technic design solution” instead of a “true to Aerodynamic design”. It is a winning solution because it does not clash with the rest of the set and is harmonious overall .
The roof is built so that it can be opened through slides, and part of the mechanism that moves the propellers can be reavealed.


To open the roof, you need to rotate some strategic pieces positioned as “brakes” of the slide. Very interesting to have designed this opening system with retractable lock/unlock.


The complex mechanism is set in motion by the PoweredUP engine, and you can choose the speed of the propeller via switch, but the tilt of the rotor (which in fact simulates the movements of dive and turn of the aircraft) is adjustable through two joysticks placed in the cockpit:


There is also a third lever, placed between the two seats and also operable from the outside, which allows you to vary the angle of shrinkage of the propellers, but it is a feature that, although it is welcome because it is also present in the real helicopter, is not appreciable because the variation of the tilt is minimal.
Returning to the slide mechanism (made using axle pieces), these are used, in addition to the rear canopy, also for the side doors of the helicopter.
This solution allows you to take a look at what was built previously and see in action the LEGO piston element that moves the landing gear.
But let’s focus on the most interesting part of the whole set: the Technic PoweredUP functions. The main engine is driven by an ON/OFF switch with external lever on the left side of the aircraft, and on the same side there is also the lever linked to the rotation of the propellers.

On the right side of the model there are the levers linked to the retractable landing gear and the rope mechanism.


The cable is really very long, its length is around 150 cm. The mechanism works perfectly and it is enough to fold the entire wire a couple of times to “settle” the position around the winch, and make it fold/ unfold without knotting on itself.
However, if the cable winding/unwinding system works properly and without burrs, the same cannot be said for the system that controls the landing gear.
Here are the two possible configurations:


As said before, the landing gear represents, in my opinion, a small weakness of the set: although the mechanism of descent/ascent of the wheels works well, these are not strong enough to allow the descent of the wheels starting with the helicopter from the “resting on the ground” configuration.
In practice, to unfold the wheels you need to hold the helicopter suspended (keeping it with a hand on the “belly” of the model). Of course, it is not a feature required by a real helicopter, but it show a slight weakness of the entire landing gears support.
Once deployed, the wheels can support the entire weight of the set, but it happened more than once that, by making a little pressure on the roof surface, the rear wheels have given way, retreating. Nothing serious, to recalibrate the whole thing you need to retract the landing gear completely and repeat the foldin/unfolding cycle a couple of times.
Conclusions

The model looks really good, full of details and with excellent design solutions that you will discover during building process. the chance of being able to observe the internal mechanism in motion is a much appreciated addition.
The color Red and Yellow is, although not too faithful to the real counterpart, is very eye-catching.
The PoweredUP functions are well integrated within the structure and from the tail rotor, to the rescue cable, everything works smoothly.
The overall design is well made, the shapes are soft and the proportions respected. The structure is solid and you don’t feel you can damage the set by handling it. The tail of the helicopter can be slightly bent downwards, as you can also see from the photos above, but the structure is solid and there is no way to detach it easily.
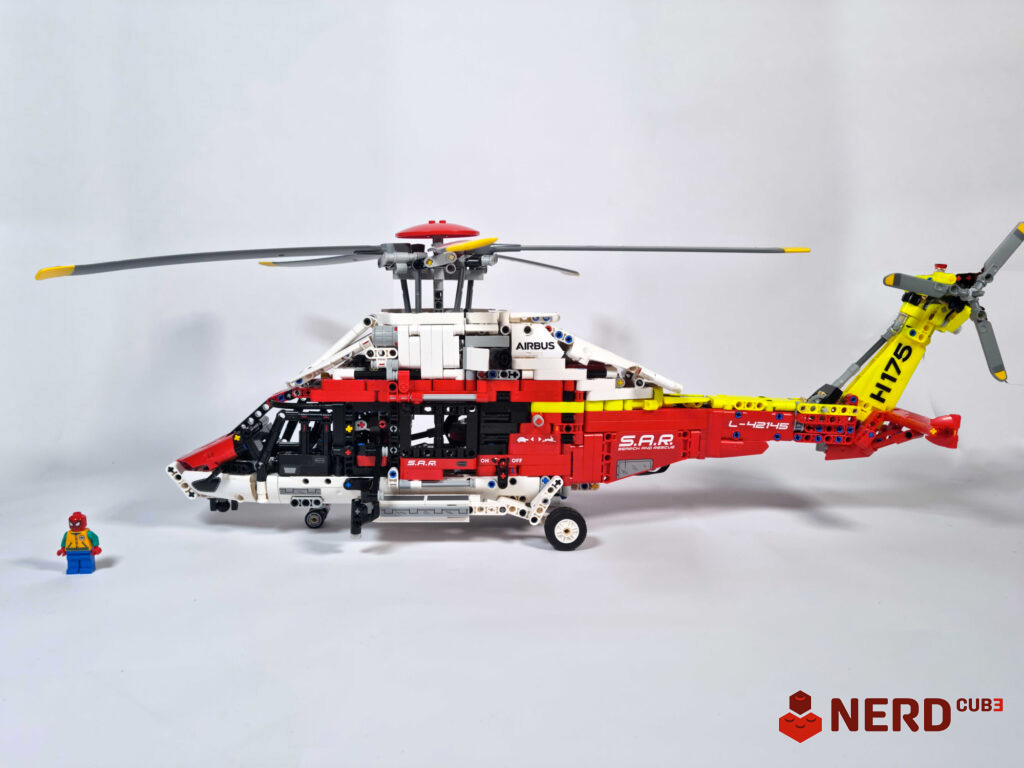
The model measures 70.5 cm in length and the main body is about 15 cm wide without taking into account the propellers, thanks to which it reaches a width of about 53 cm.

When choosing where to place the model, you have to consider the diameter of the propeller disc because, as you can appreciate in these images, the propellers are the widest part of the whole set. The color, the shape, the visible gears, the cockpit: there are many details of this set that can catch the attention and interest of a viewer, both when stationary and when it is in motion too.
Regarding this last aspect, I admit that the addition of a pedestal, or a sort of structure able to hold the set in suspension, would have been an excellent solution to give more dynamism to the helicopter (seeing a helicopter on the ground is not as amazing as seeing it slightly suspended or maybe tilted on one side). It must be said that there are very few Technic sets featured with pedestals.
Final words, the LEGO Technic Helicopter Rescue Set Airbus H175 (42145) is a very well made set, with well-implemented motorized functions, recommended for the aesthetic and for the amazing internal mechanism, definitely recommended to anyone who is fond of engines and gears, and that will be appreciated by those who have interests in aviation and engineering.

Verdict
Final words, the LEGO Technic Helicopter Rescue Set Airbus H175 (42145) is a very well made set, with well-implemented motorized functions, recommended for the aesthetic and for the amazing internal mechanism, definitely recommended to anyone who is fond of engines and gears, and that will be appreciated by those who have interests in aviation and engineering.
The good
The PoweredUP functions are well integrated, and everything works smoothly
The overall design is well made, the shapes are soft and the proportions respected
The internal mechanism is brilliant
The not so good
The landing Gears Mechanism may shows some weakness
The Red and Yellow color are not too faithful to the real counterpart
The Airbus Stickers


